Tag Archives: L’Art

3D Practice

Today I’ve been having a chill day before the last big push to finishing my second year of uni. So I decided to do a bit of modelling (because I can’t relax anymore without being creative) and modelled Obi-Wan Kenobi’s Lightsaber from Episode 1: The Phantom Menace.

You can fine the model HERE. (for some reason embedding doesn’t work)

Learning how to utilise a PBR workflow

Since just before Christmas I started learning about Physical Based Rendering and the workflows required to achieve it. My learning of PBR started when my tutor Paul did a lecture on creating basic PBR materials for Unreal Engine 4; from there I started looking into the theory behind the workflow, looking at documentation from companies such as Marmoset and Allegorithmic who have both released free documentation outlining the workflows and maths behind PBR. There are links to those documents below:

Marmoset:

Theory

Practice

Conversion

Allegorithmic

Now my texturing workflow is almost exclusively PBR, and even though my production of PBR materials is still somewhat basic, I can safely say that I understand enough of the theory behind it to make something that looks decent PBR wise (I feel my actual texturing could still use some work).

Obviously there is a lot more I can learn, and I plan to keep upskilling over the summer period so that I will be better for next years projects.

Noah, A Mystery Play

Yesterday (As of the date this blog post was written), I was approached by my tutor with a project to work on for a client (technically 2 clients for 1 project). The project was to recreate the mobile stage from this image:

Corbould, Edward Henry, 1815-1905; Noah, a Mystery Play
Corbould, Edward Henry; Noah, a Mystery Play; Ferens Art Gallery; http://www.artuk.org/artworks/noah-a-mystery-play-78434

With one of the deadlines being tomorrow (As of writing this post). Thankfully my tutor gave me a pus in the right direction by not only helping me breakdown how the stage might have been set-up, but also by giving me the name of the type of ship that the stage is based on; a type of ship known as a Cog Ship (Kogge Ship (there are two different spellings but both are the same)). Below are two examples of the ship:

From these, I managed to create my own interpretation of this stage; the images below show both the front and rear of the stage, as well as the 3D topology of the models (for those interested). The stage has been modelled to a low – mid polygon level as it will be going in a game engine along with an environment. The build time as a whole took me around 5-6 hours.

The reason I have been asked to do this project was because the clients wanted an updated version of the stage, it was originally modelled and shown in a previous year groups heritage project from 2013 which was based entirely on the source painting.

That project can be found HERE.

So that happened…. (A story about copyright)

Ok so I wasn’t going to talk about this because it was all dealt with before I even realised what happened, however I realised it can help me with Learning Outcomes at uni.

So around a month ago someone found my blog and had a look through some of my artwork from my first year. They found THIS piece of work that I had posted and took a liking to it.. So they downloaded it. Now to be fair to the person who did this they didn’t realise that what they were doing was illegal. However, they recoloured my work and posted it up on their DeviantArt page. Thankfully, the DeviantArt community found this post and informed the individual that they needed to credit the original creator (Me). The re-uploader has since amended  this, meaning I no longer need to do anything about it; but it’s still a prime example of copyright infringement, which helps me achieve part of a module for uni.

Sebastien Larroude Scene

As part of a 3D task I was asked to do for uni, I had to recreate a scene in 3D from a 2D source image.

The source image is by an artist named Sebastien Larroude; Larroude is a concept artist, artistic director and co-founder of Steambot Studios.

He has worked on many large-scale projects and titles, such as; X-Men: Days of future past, Batman: Arkham Origins, Thief 4, Deus-Ex: Human Revolution, Godzilla (2015), Black Ops 2: Buried Zombies map.

However, the image I was asked to re-create wasn’t from any of the aforementioned projects; the image is named “A place I have ever known before”.

sebastien-larroude-a-place-i-have-ever-known-before-rainart

The next image is my 3D render of the source material, re-created in Unreal Engine 4. The building model was created in 3DSMax.

ScreenShot00002

Obviously it is perfect in every way and has no flaws whatsoever… (… did anyone believe that? No? ok…)

Obvious problems with my version of the scene:

  • The fog doesn’t look like it should, however it has set the lighting to a pretty accurate recreation.
  • All of the materials in the scene are UE4 presets, so they don’t “fit” great with the scene; but they kinda work.

Creative Futures – Food Vendor

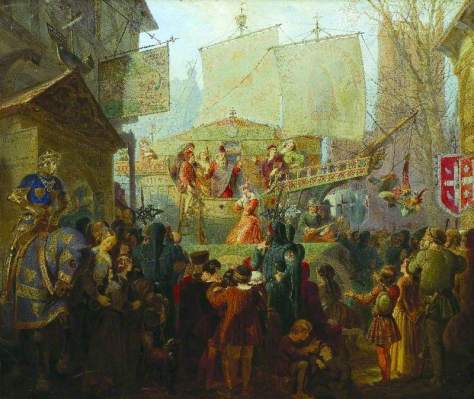
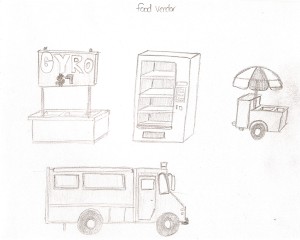
As part of my Creative Futures module at uni I was tasked with researching, and designing, different forms of food vendor. I started looking at different types of fast food stalls, seeing where they were generally located, and how they typically looked.

scan0014

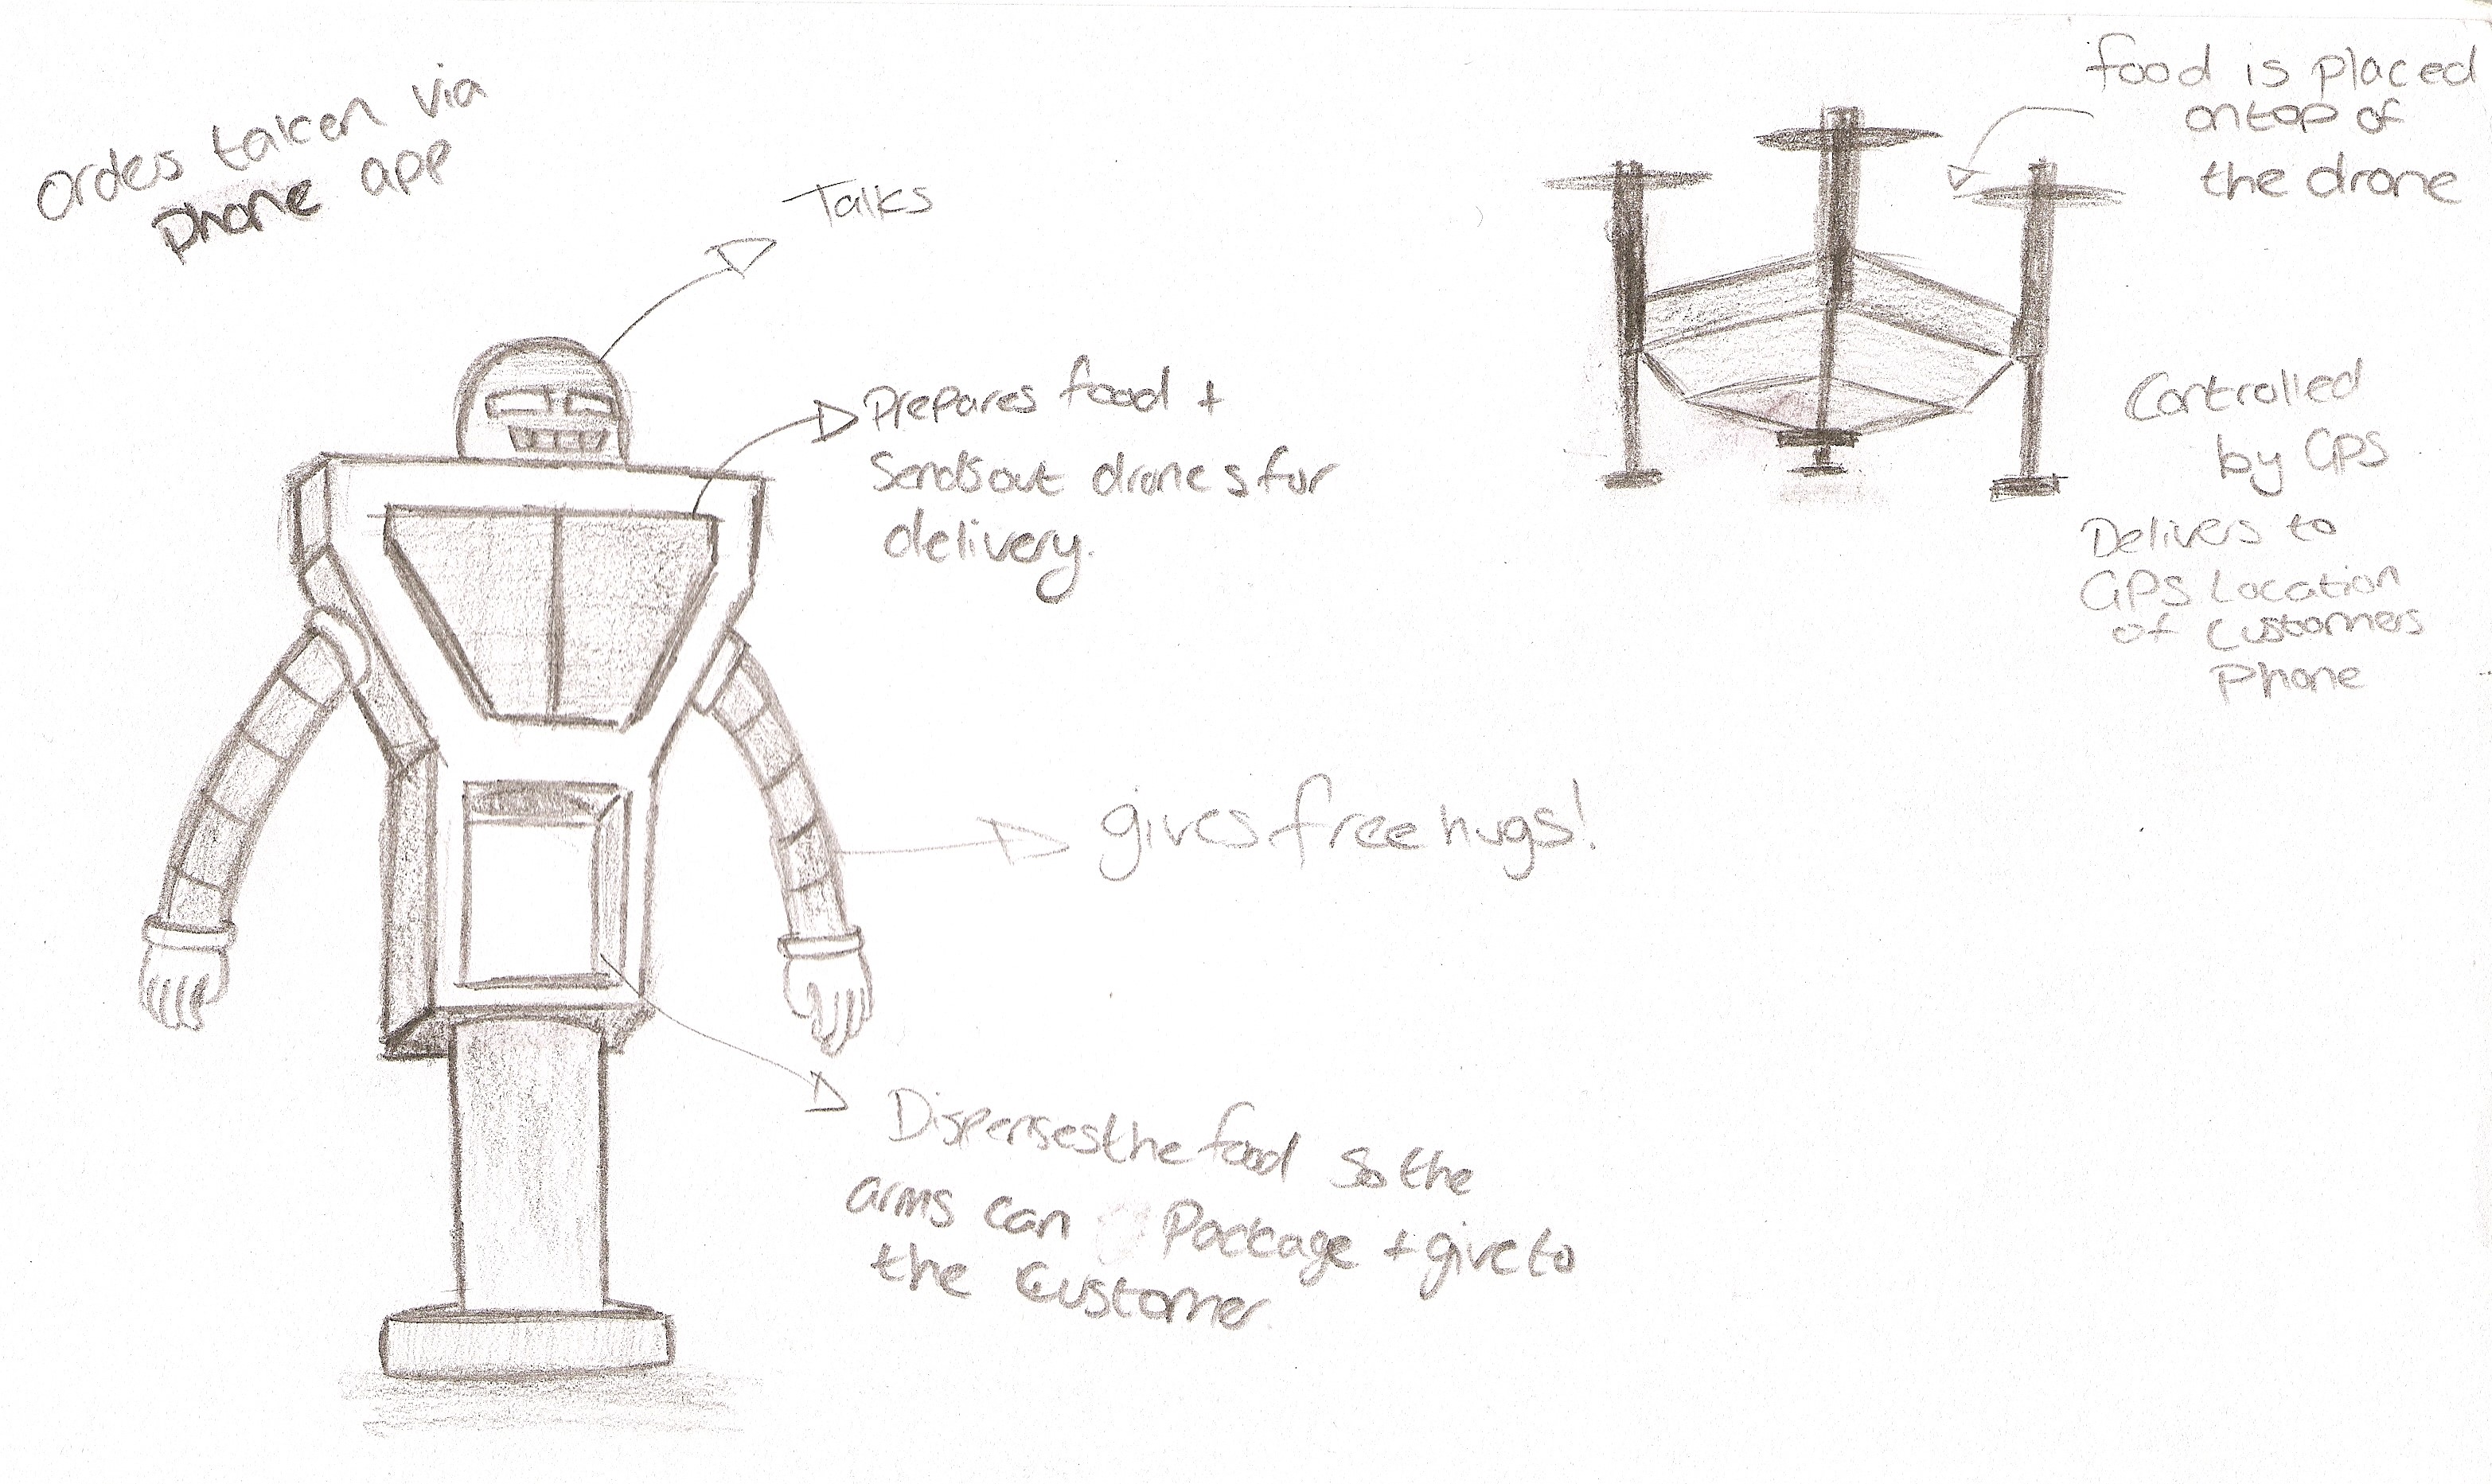
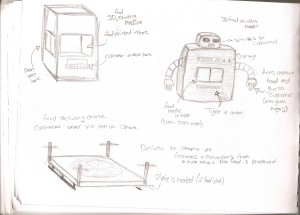
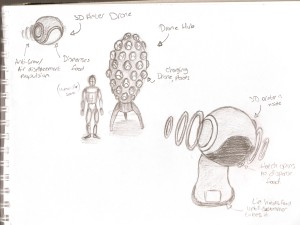
After that I started to play with some ideas, I started out by designing a sort of 3D printer/vending machine hybrid (simply because I liked the idea of having what I want when I want). I then went on to make it more user friendly (by giving it arms and a face).

scan0015

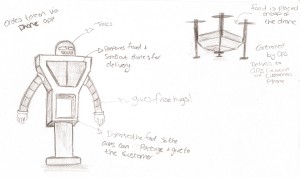
During this phase of designing my tutor mentioned how a drone delivery service may be a good idea, so I started thinking how I could incorporate it into my designs. I came up with this.

scan0016

I then had an idea inspired by the classic Robin Williams film Flubber; in the film Robin Williams’ character has a little AI controlled drone that runs his house, called Weebo.

Weebo

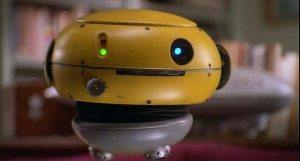
Weebo’s design then became the basis for my final design.

scan0018

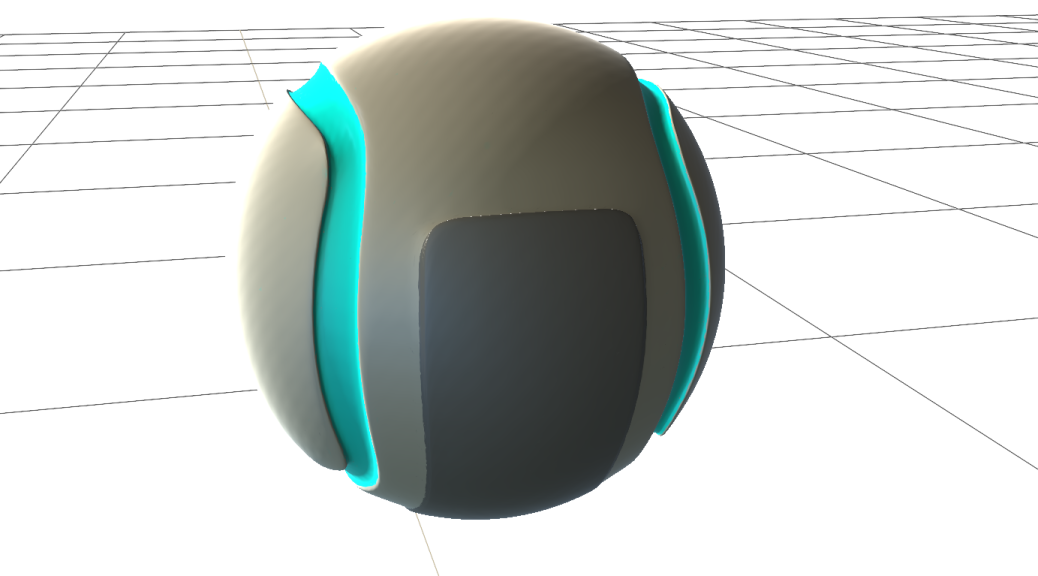
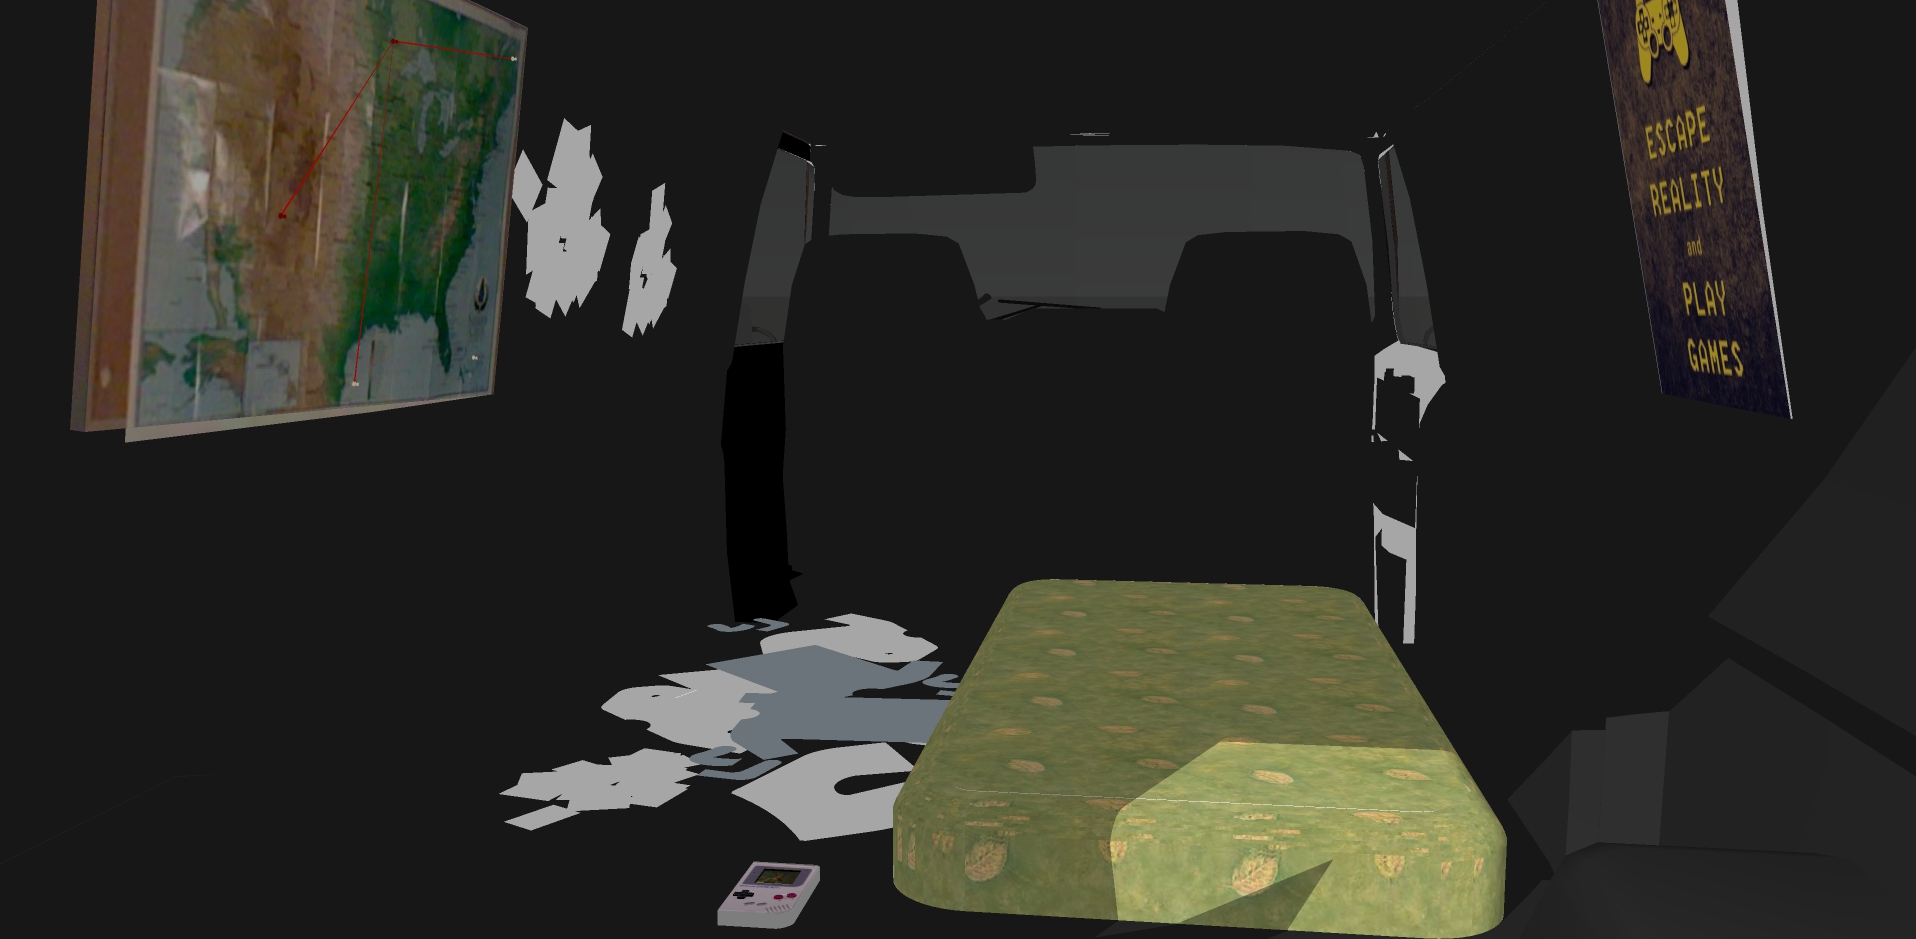
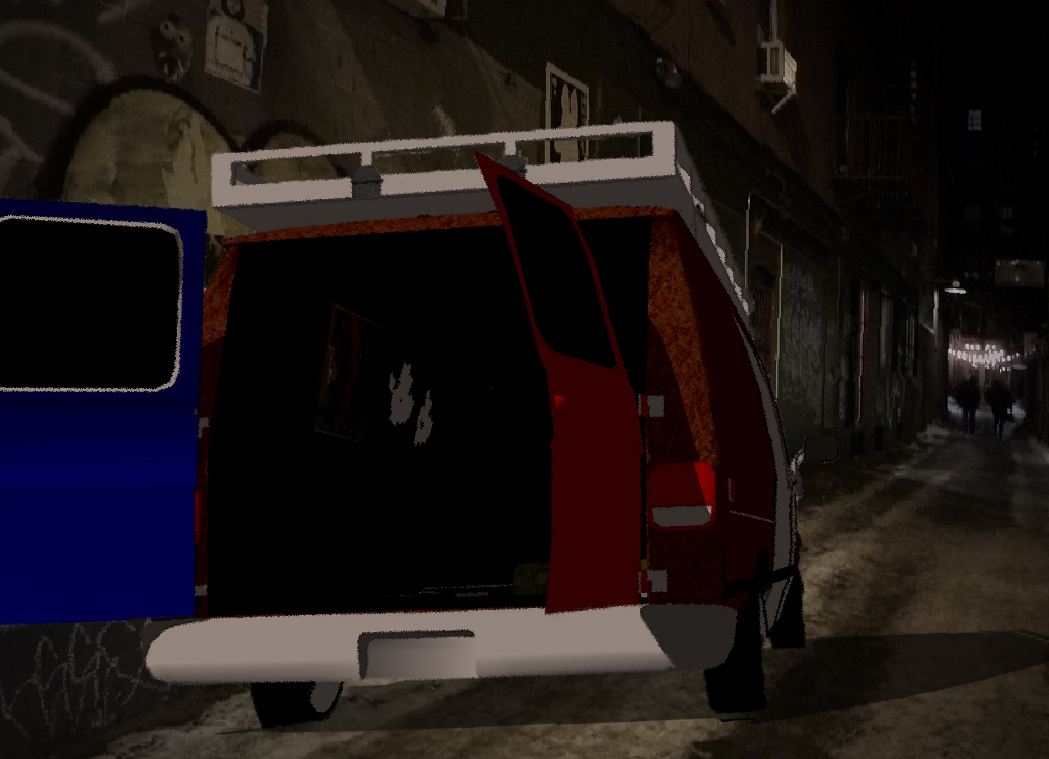
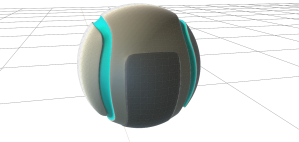
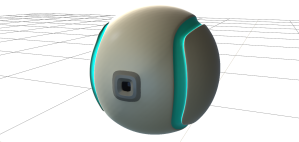
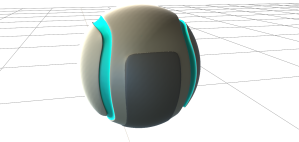
Once I was happy with it I went into 3DS Max and started to model the drone. During the modelling process I changed the design slightly to make it a bit more square (not sure why, I just liked it better).

Vendor Model untextured (back) Vendor Model untextured (side) Vendor Model untextured

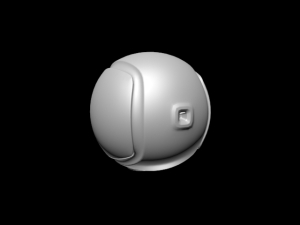
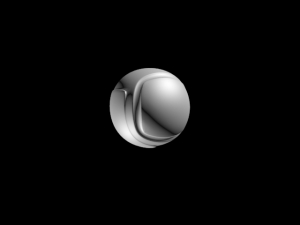
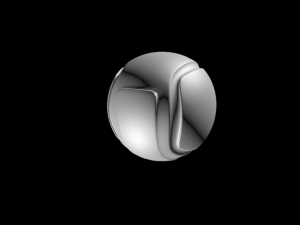
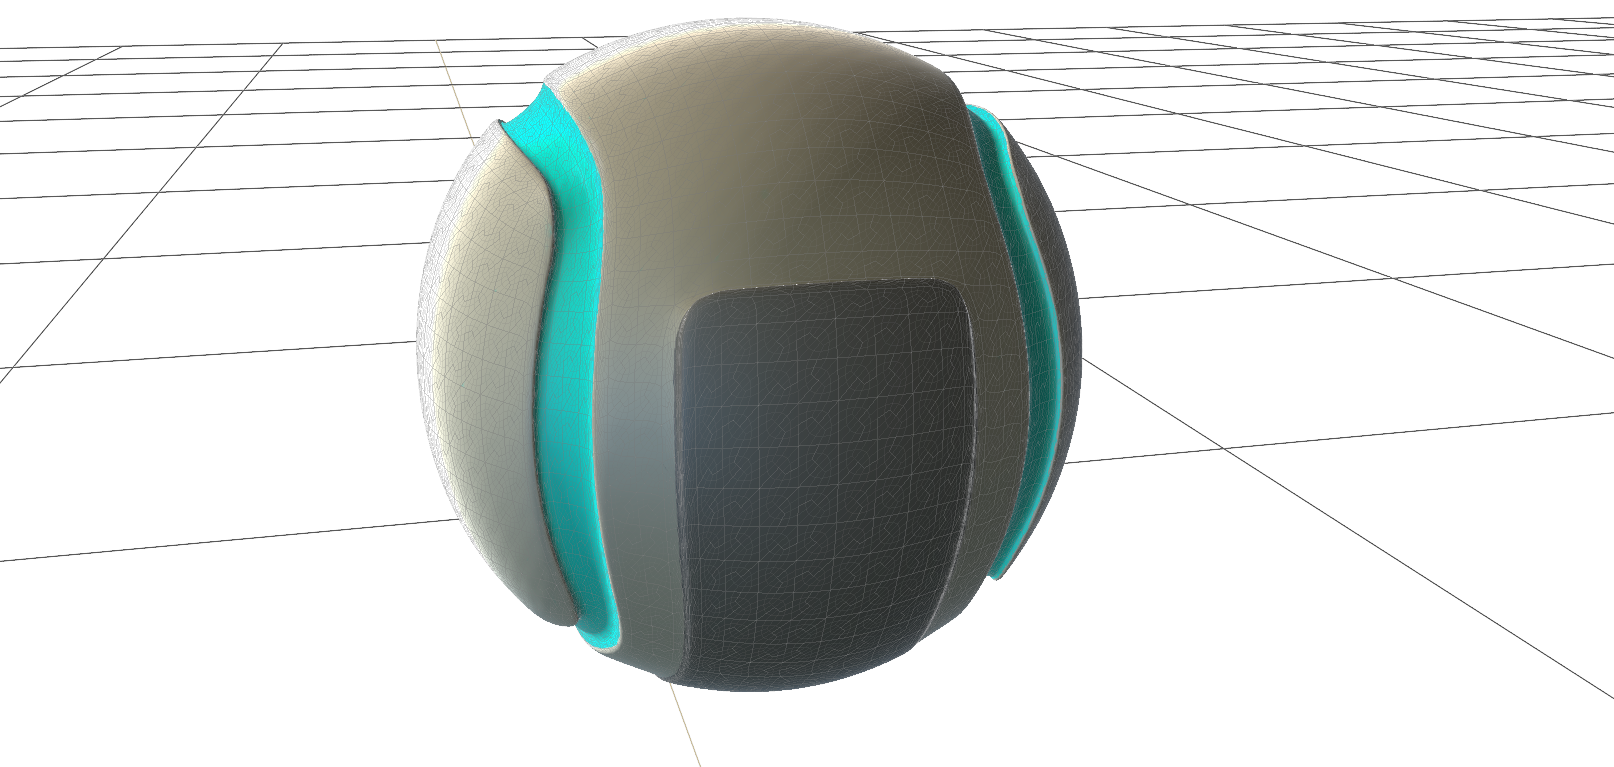
After that I put it into Mudbox and painted on the textures.

Final Vendor Model Final Vendor Model 2 (back Final Vendor Model 2 (side) Final Vendor Model 2

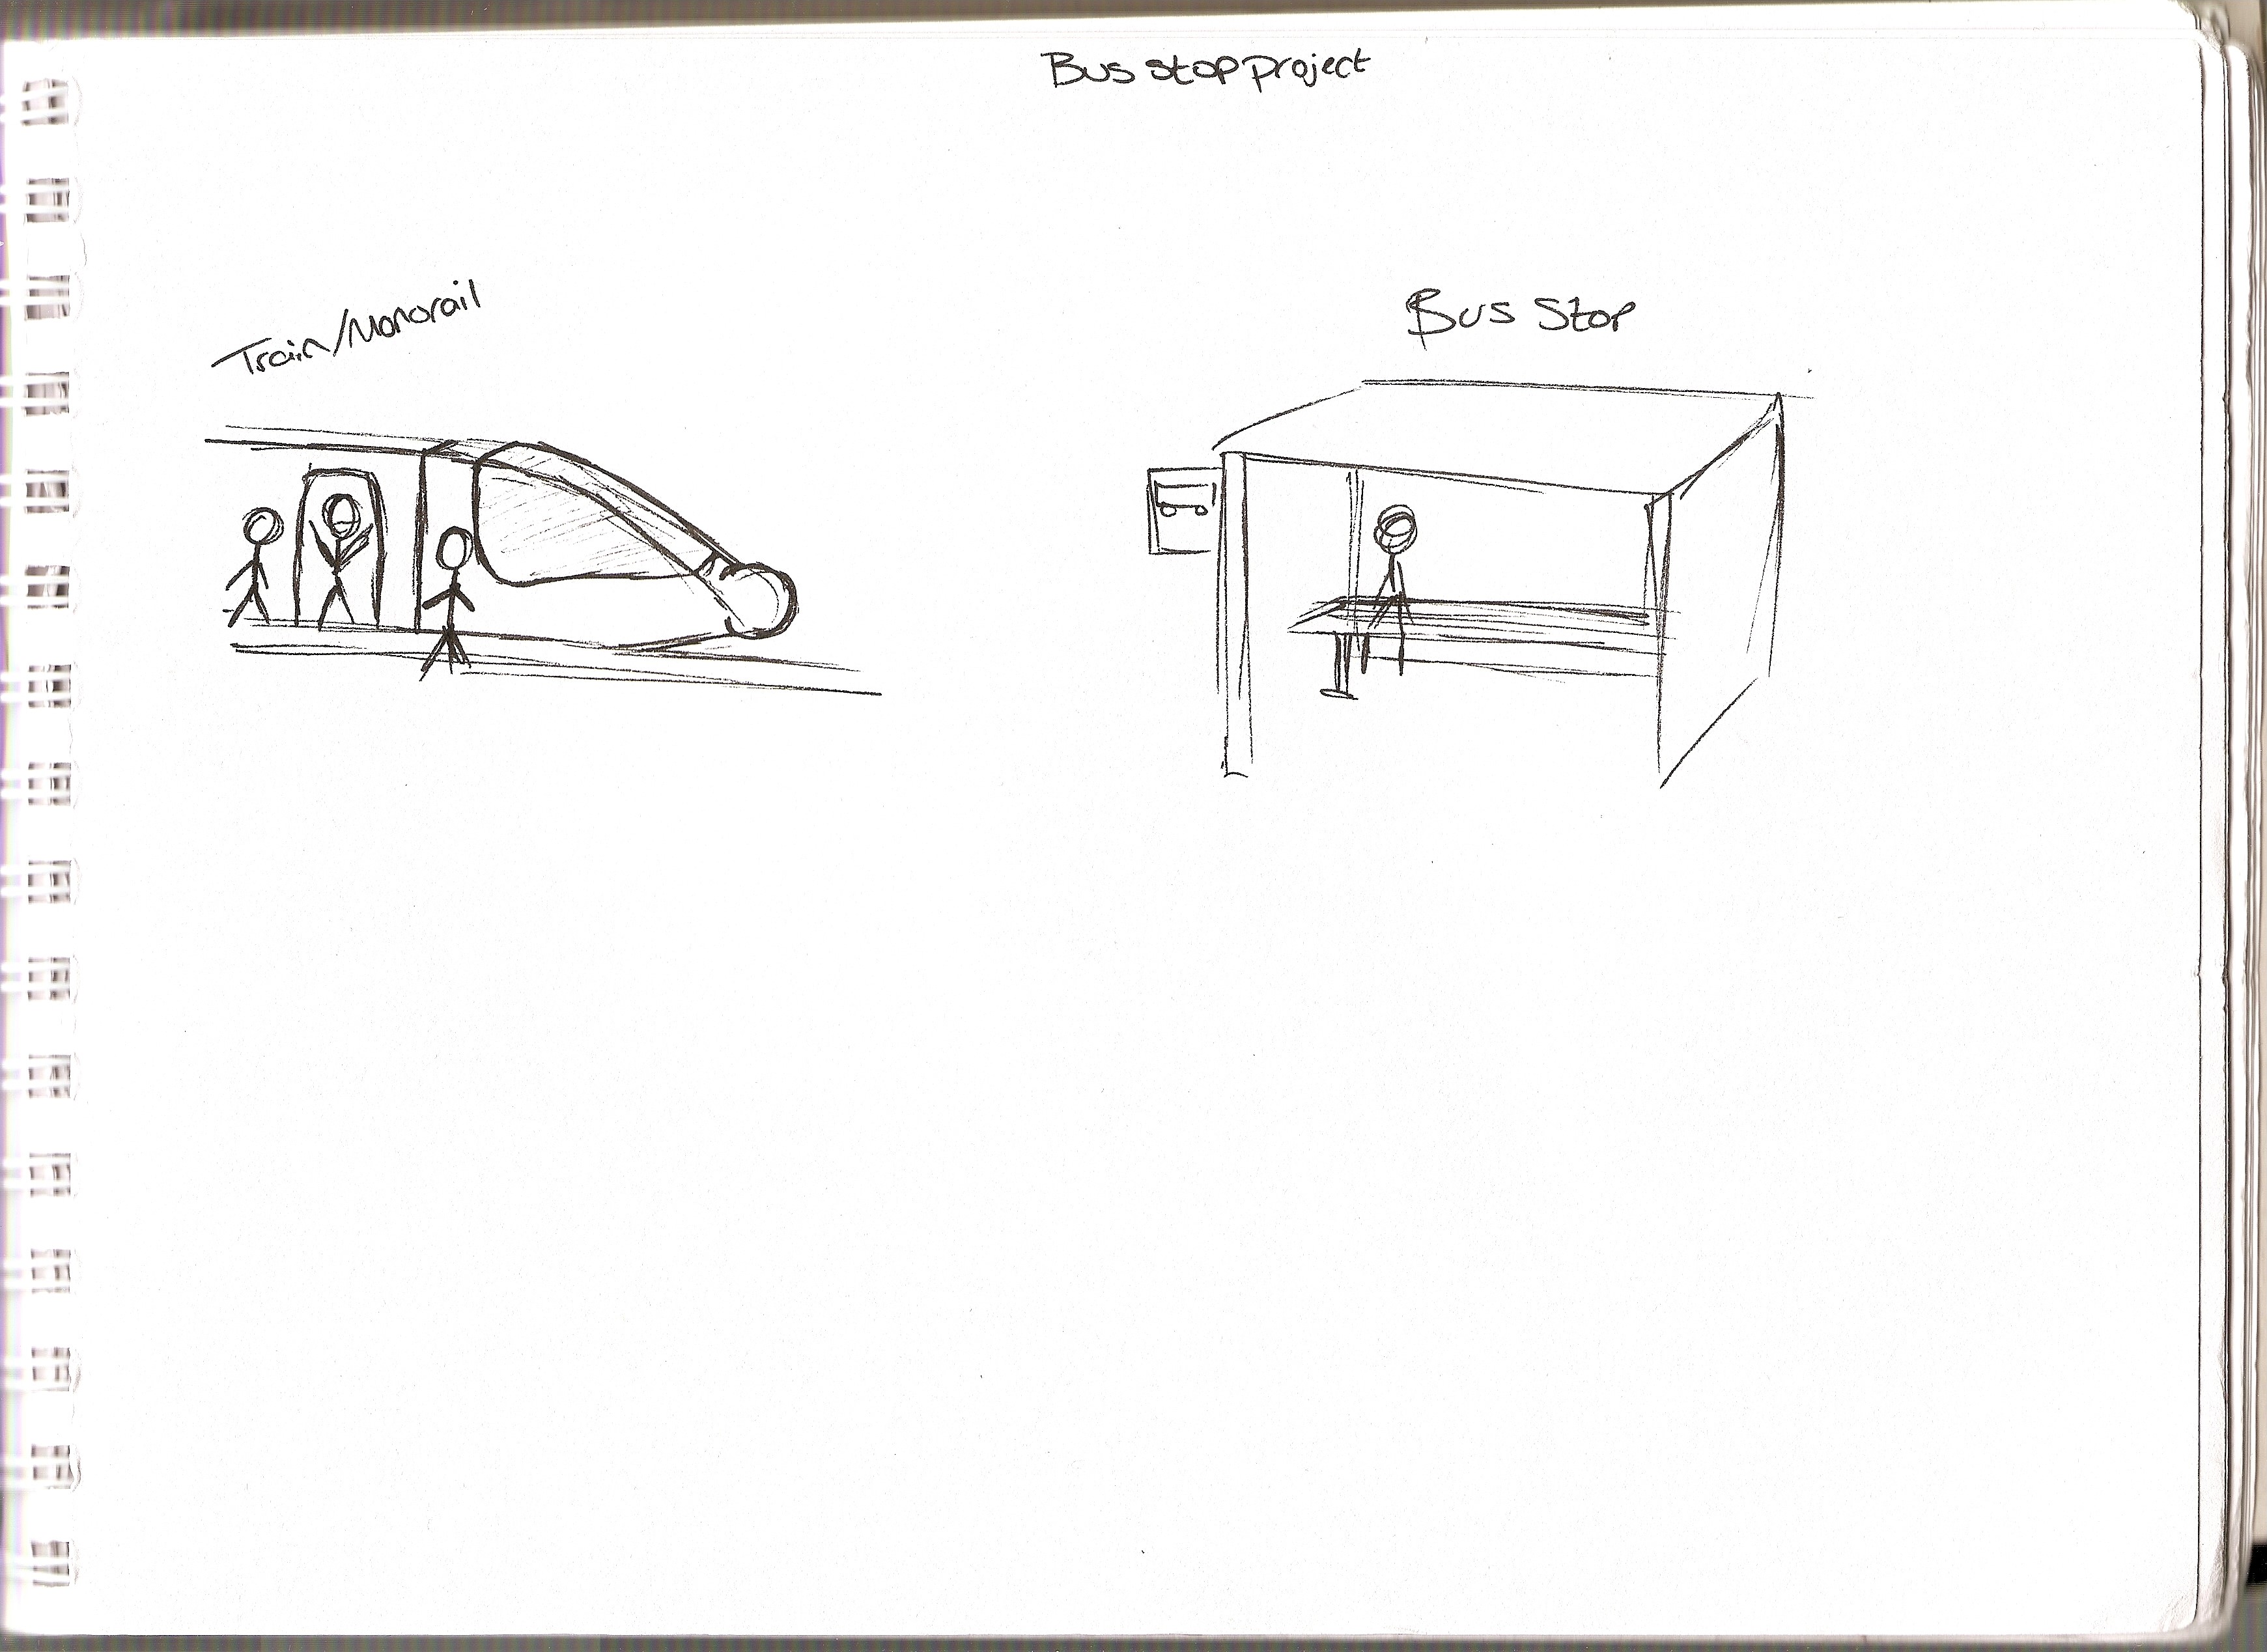
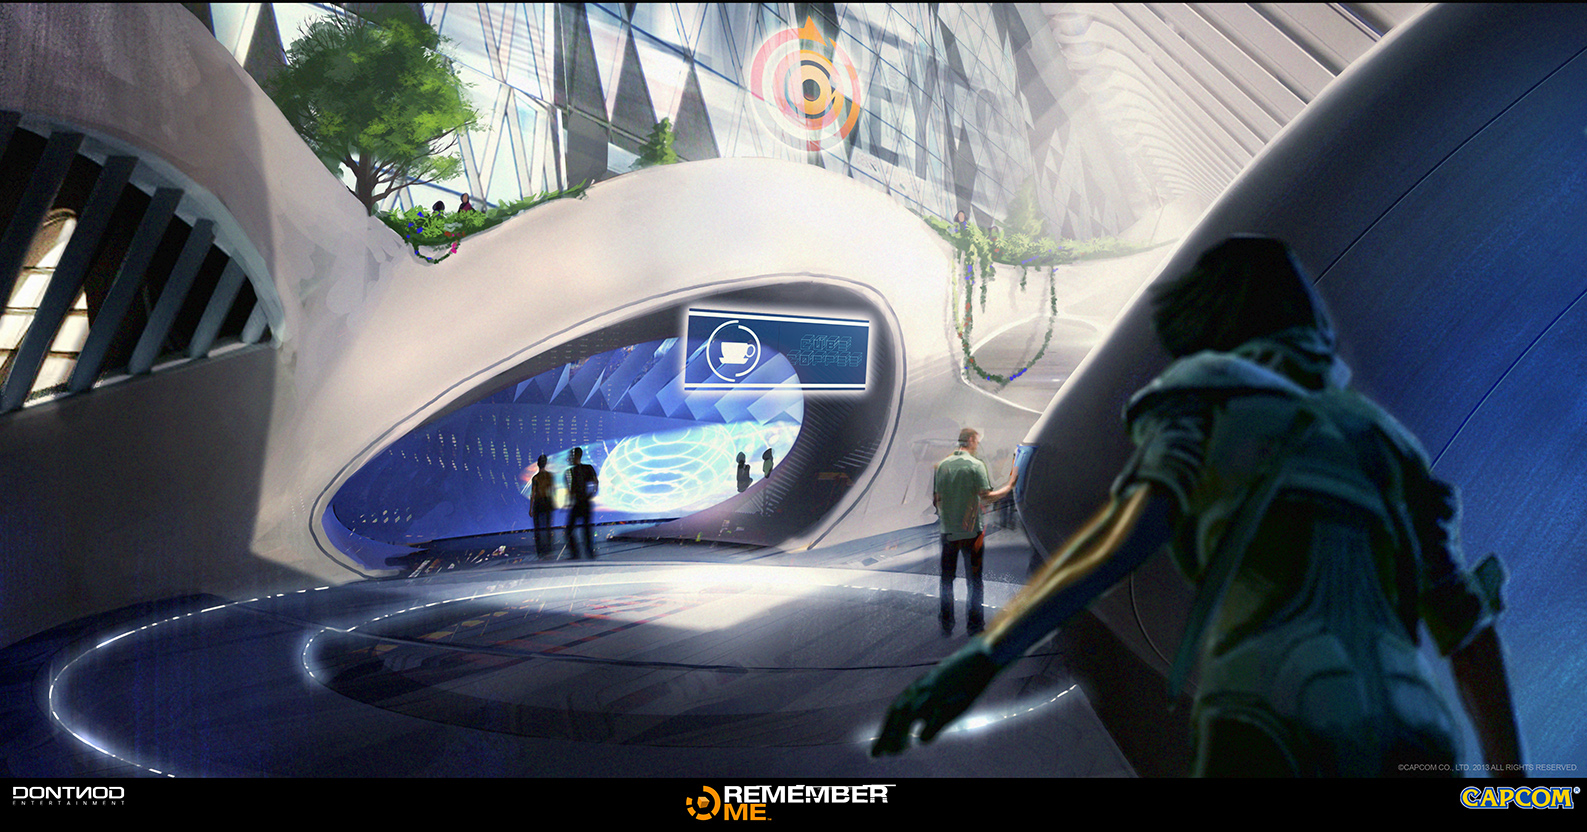
This project was part of two previous projects, the bridge and bus stop projects. The goal behind these projects is to help us observe the world around us better, and for me personally its started to work; walking down the street now I have started noticing more than I did before (an example being I noticed a tree growing out the top of a coffee shop near my uni, I’ve walked past it for years and never noticed).

Bus Stop Project

I have been asked to design a bus stop, or an interpretation of a bus stop, in any genre or time period. To start, I decided to look into what a bus stop is actually used for and how well it serves that purpose; from what I’ve found it seems that a bus stop is mainly just a shelter (at best) where people gather and wait for the bus.

To help with this project I was advised to read A Pattern Language by Christopher Alexander, more specifically Chapter 92 named “Bus Stop”, in which he explains the use of the bus stop, the problems with them and advises how to make them better. Alexander explains that to better experience a bus stop it needs to be in a comfortable area with the option to do something else nearby whilst waiting for the bus.

When thinking up ideas for a bus stop I thought about Gamification and how I could incorporate it into my designs. I then had the thought of adding a machine that acted as a billboard but was also interactive, featuring web browsing abilities, games, bus route information and is also a change/cash machine (which from personal experience I would argue is very necessary).

Here are some designs I was playing with:

scan0001 scan0004

After deciding what I thought would be useful at a bus stop, I thought about area/time period I wanted to set my design in. I knew from the offset that I wanted to base my design in the near future, and over the time used to design the images above I decided that I wanted my bus stop to be more of a train/monorail station. Here is the final image I produced:

Monorail stationIf I were to do this brief again, I would spend more time coming up with more interesting ideas; I feel like my effort during this brief wasn’t 100% and if I were to put more effort in I could have produced much better work.

Side-note: the background in my final image was sourced from Nether83 on DeviantArt.

Populating the scene – Conspiracy Theorist’s Apartment / Why is Joseph Gordon-Levitt in my van?!

As part of a uni project, I was tasked with designing a scene from a selection of choices. From the choices, I decided to design an apartment that a conspiracy theorist/mad scientist might live in.

I started out by listing everything that might be found in the aforementioned apartment, making quick sketches of different angles of the apartment:

scan0004

I then drafted out a quick concept image, laying out different parts of the apartment:

Conspiracy Theorists Apartment

From there I had the idea to design the apartment around the concept of mobility; as a conspiracy theorist may be extremely paranoid and may not want to be found easily. So I thought a van that was shoddily modified to be habitable would have been a more interesting concept.

So I started looking up old worn out vans and started to think how someone might live in the back of one.

scan0003

From the research I went straight into google sketchup and did a quick mock-up of the van I wanted to make:

Conspiracy Theorists Apartment - Van inside corner Conspiracy Theorists Apartment - Van inside front Conspiracy Theorists Apartment - Van open Conspiracy Theorists Apartment - Van back Conspiracy Theorists Apartment - Van emerging Conspiracy Theorists Apartment - Van front Conspiracy Theorists Apartment - Van inside back

After loosely modelling the van using google sketchup, and its 3D warehouse, I moved the van to photoshop to add the final touches that will make my scene look populated:

Van and alleyway

I decided at this point to add someone who was living inside the van, so I looked up some images of people curled up in a corner and found the perfect image of the actor Joseph Gordon-Levitt; so I added him to my scene:

Van and alleyway with Joseph Gordon Levitt

While in photoshop I started playing around with some filters and effects to make the image a bit more interesting, these were the results; I personally like the black & white version:

Van and alleyway with Joseph Gordon Levitt 2 Van and alleyway with Joseph Gordon Levitt 3

Street Brief – Artist Research: Gary Palma

Gary Jamroz-Palma

Gary Palma is a concept artist based in Paris, France. He has worked freelance on Projects like the Fantastic Four animated series, various comic books and a few advertisement projects. He currently works at DONTNOD studios, working as a senior concept artist. Since starting at DONTNOD he has created concept art and character designs for the studios first project: Remember Me. A lot of his environment art for Remember Me features interesting and stylised versions of high streets, that is why I have chosen his work to research.

Gary’s blog, which features most of his work can be found HERE.

Remember Me 1 Remember Me 2 Remember Me 3 Remember Me 4 Remember Me 5

Observational Modelling – 3D

As part of my Uni course I was asked to model an object that was somewhere in the building. The object I was given was a pressing machine (I don’t actually know the name of it :P), I had to go and find where it was in the building and take both reference images and sketches before I could start accurately modelling it in 3DS Max.

20150304_142220 20150304_142228 20150304_142235 20150304_142244 20150304_142247 20150304_142711 20150304_142728 20150304_142030 20150304_142040 20150304_142041 20150304_142050 20150304_142102 20150304_142115

scan0009

All of the images above are what I used as reference to compete the final model. Unfortunately I forgot to record my modelling process, meaning the only thing I have to show is the final model itself:

Machine v3*I made this one green because I like green, I now realise it makes the model less defined… -_-*

Machine v1 Machine v2

If I were to go back and do this again I would make sure I got the scale right. It may not be as visible in the images shown, but my model is actually taller than the real one.